Getting-Started in just 5 simple steps.
Step 1
Get needed parts
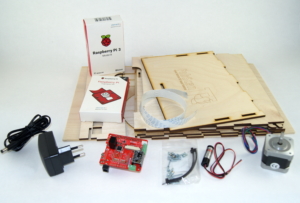
FabScanPi Kit
Get your scanner setup. You have the choice between an original FabScan which you can purchase at one of the official FabScan suppliers or build your own one. You can even build a scanner like the Ciclop.
Build the Scanner

After you have all parts lying around, you can start to build your scanner. You will find additional information about wiring and assembly in the FabScan documentation.
Step 2
Step 3
Install the Software
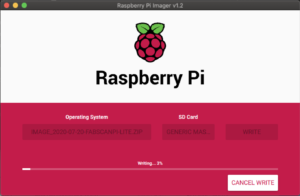
The fastest way to get started is by using the SD-Card image. Flash the image with Raspberry Pi Imager to the SD-Card. Afterwards boot up your FabScan. Next point your Browser to the ip address of your FabScan. You can also try to use the fabscanpi.local address. When you are not able to discover the ip address of the FabScan in your browser you can even use the FabScan-Discovery-Service.
Calibrate the Scanner
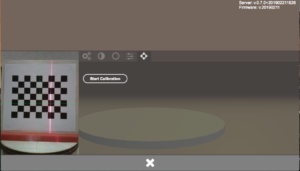
Calibration Sheet and Calibration Dialog
Build your calibration sheet and run the FabScan Calibration process. After a couple of minutes your scanner is calibrated and ready to scan. You will find more information about the calibration process and fine tuning in the FabScan documentation.
Step 4
Step 5
Scan
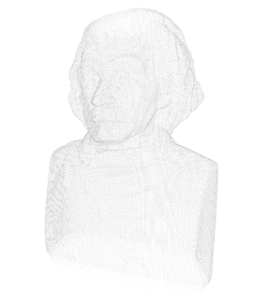
Start the scan process and download the scan after the scan is finished. You can use several third-party tools like Meshlab or Cloud-Compare for post processing the pointcloud.